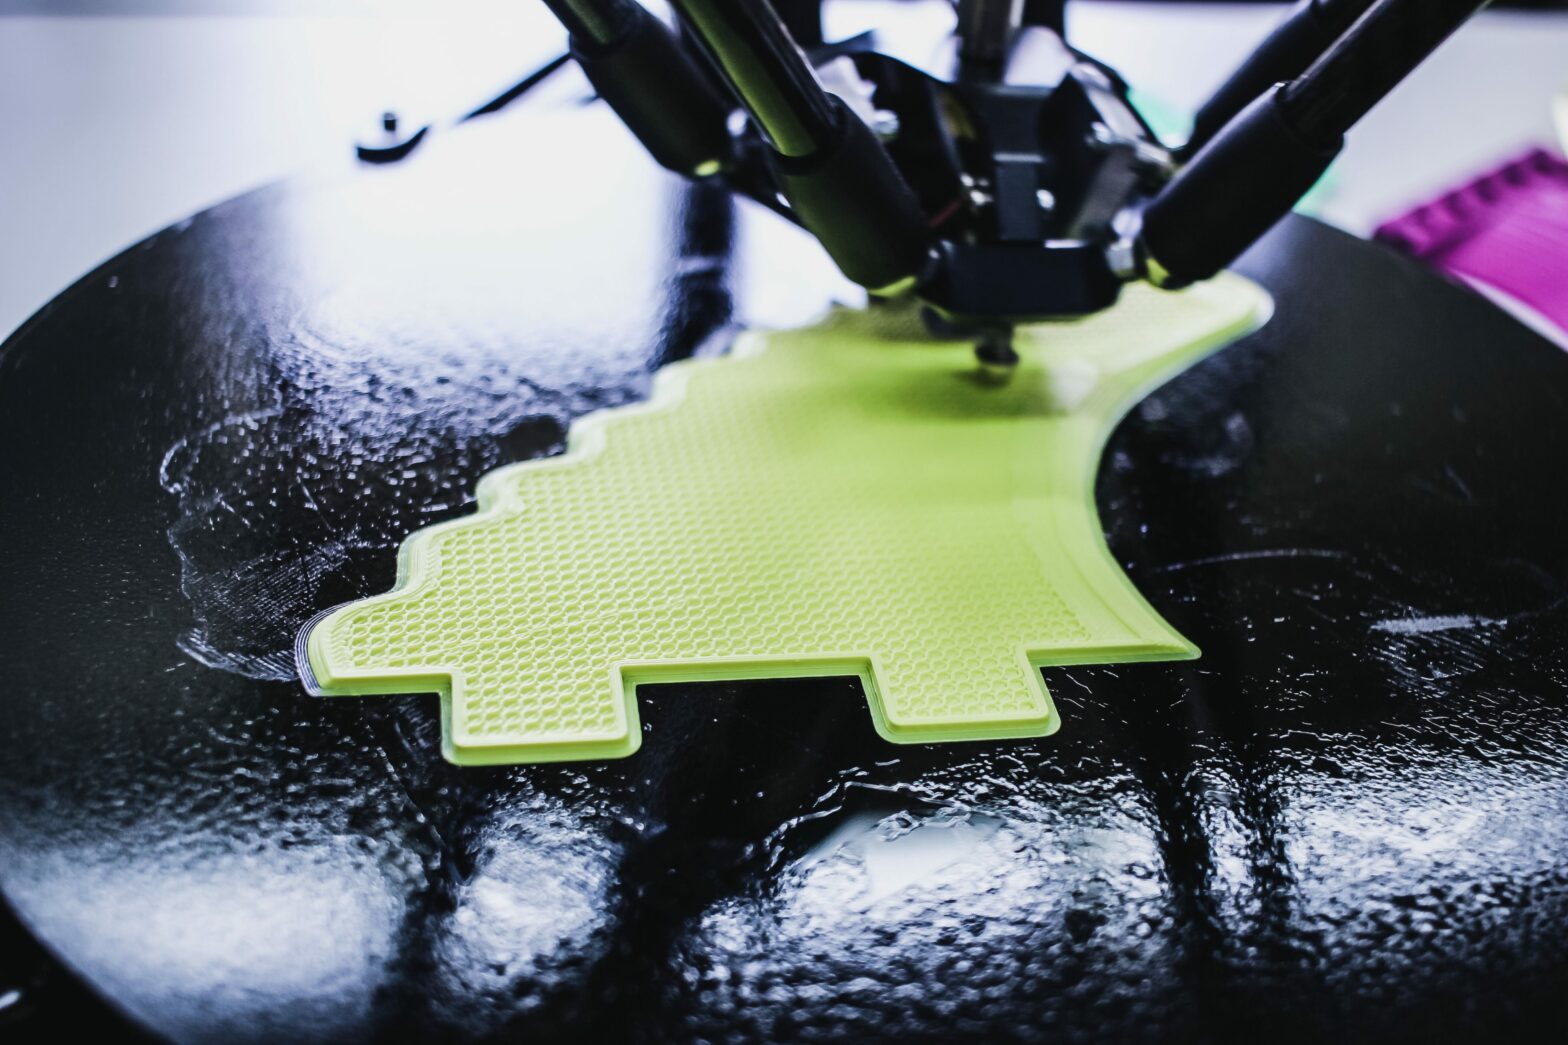
In 3D printing you take a model and you use what’s called a slicer; this slicer takes the software and turns it into what’s called G-code. That G-code is the instructions for the 3D printer (or for a CNC machine or for a laser cutter… etc, they all work on the same principles). With the slicer you are not doing the modeling, you’re not doing the size reduction or the common language part of it. You are turning it into a set of tool paths that the printer will understand, just a simple set of instructions for go here, drop goo, make a circle, do it again, do it again.
The G-code is the driver and the language that the printer understands. To create the G-code you can use Slic3r or Cura, both free and open-source products, or you can try a paid product, the most popular called Simplify3D. 729 Solution’s SEO Rob Fife experimented with both but found that using the simple interface on the machine controller was not producing the results, insight, or control that he desired. The free slicer software, while totally usable, had a much steeper learning curve than Simplify3D. His breakthrough was buying Simplify3D and tethering it directly to the printer with a USB cable. This gave him insight into the G-code going to the machine line by line as well as the status of the 3rd axis. He was able to get the control and insight he needed and said there was “clarity in addition to what felt like stronger G-code for his specific machine. Rob’s recommendation, “if you’ve got the money, Simplify3D made a night and day difference.” He said it immediately started spitting out G-code that was a lot closer to perfect. Using Simplify3D to create the G-code made it easy to make granular adjustments to layer heights and speeds when to turn the fan on and off, those sorts of things.
“It was a night and day leap for me when I tethered the machine directly to my Windows laptop. The problem was that my laptop was tied to the machine for the duration of a print (2,3,6,12 hours). I have since moved on to slicing with Simplify3D and then passing that G-code over the network to a raspberry pi running “Octoprint” that gives me real-time information somewhere between the interface on the machine and having my laptop tethered directly to the printer. Now the only time I directly attach my laptop to the machine is for serious troubleshooting.”
Tethering and the ability to jog the controls, to physically move the three-axis around, to heat the extruder up, and have it spit out things with direct commands and not having to use the clunky interface sped up the process. It also improved the success rates, as well as cut down on stress on the machine, which is always a good thing! He said that once he went to the tethering, things started to move a lot faster. Although he still has failed prints for one reason or another every 15-20 pieces, overall the system works very well. If you have a laptop to sacrifice and the ability to buy Simplify3D to tether everything together, you will be happier with your results.
Delamination and raft printing
Rob went from printing lopsided blocks to printing reasonably usable droid components in a matter of two or three days. His last real problem went back to the issue of adhesion and delamination. He was getting a lot of delamination and the bottom face that was on the printer bed was not coming out correctly. He discovered that you can use what is called a raft, a lightweight piece that goes underneath your item, and all the delamination happens to the raft. You print on top of the raft and you may not get the really nice, smooth surface of printing directly to glass, but, the raft peels off when you’re done and leaves you with a reasonably good print. If you do get some delamination or under extrusion then one of the things that people do to fix imperfections is Bondo like you use in a car. People have recommended the spot filler vs regular which comes in a much smaller quantity, doesn’t go bad as fast, and is not as toxic as that big can. He also found that using a spray primer such as, Tamiya is an excellent spot filler and it’s likely a step you will be doing anyway if you plan to paint what you are printing. Once you fill imperfections a piece can be glued and sanded. Rob’s goal is to rescue under-extruded structural parts, things that he wouldn’t use for detailed artistic pieces but are just fine for the inside of the droid. This also helps to cut down on the waste of PLA.
Setting up a 3D printer may take a fair amount of troubleshooting and may be harder for some people than others. However, no matter what your previous skill level is, there are a lot of resources and options out there for those just getting started with this hobby and who may be just figuring out their 3D printer. Take the time to explore the resources, and remember that 3D printing is a journey that will take practice, trial, and error.