As mentioned in the previous 3D printing/droid post, setting up the printer with basic functionality took about three hours to go from putting it together to running and spitting out a mess of spaghetti. Once it was clear the machine was heating and functioning at a minimal level, then the real work of fine-tuning the printer settings began.
Leveling the print bed
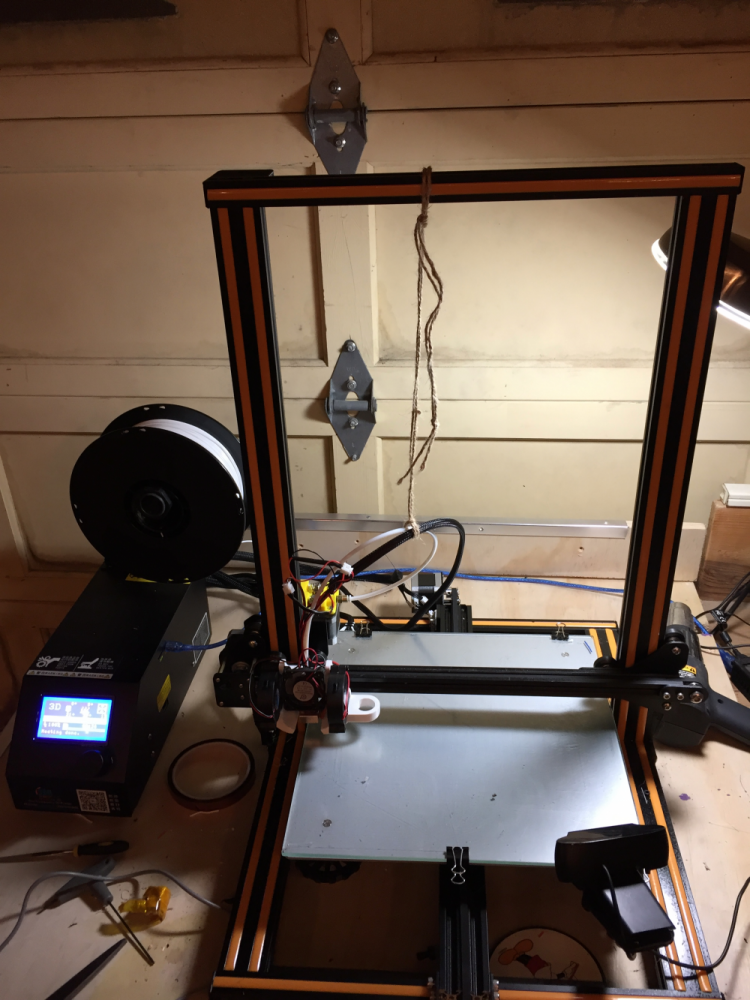
Having the bed itself level is critical to making 3D printing work, as well as making sure that the extruder and the printhead(the part that gets hot and melts the PLA and lays it out on the bed), has been zeroed out to the appropriate distance above the bed.
“One of the weaknesses of the CR-10, in my opinion, is the inability to adjust the sensor for the z-Axis, which is where the extruder rides, to get it zeroed physically in the right place, which most people say is about the thickness of a sheet of 20-pound bond paper, maybe two sheets. That was one of the first things I ran into; the extruder dragging on the print bed or being too far from the bed and causing bed adhesion problems.”
Printing material types
When you 3D print you can use many different materials. Two of the most common are the plastics PLA (poly-lactic acid) and ABS (Acrylonitrile butadiene styrene). As a beginner, Rob has been using exclusively a PLA-type filament versus ABS. He says, “As I understand it, the ABS is stronger, but the PLA is easier to work with.” The upside of the ABS besides strength is that you can weld it together with acetone, where the PLA you have to use something more traditional like super glue.
Print bed adhesion
Another challenge for Rob was ensuring sufficient print bed adhesion. This is one of the big problems with using ABS as it has to stay warm to stick to the bed, otherwise, if it gets cold too fast it warps and it pulls up at the edges. PLA on the other hand is very resistant to minute changes in the temperature. There are a variety of methods of making the printer bed tacky, There are common tricks like glue sticks and mixtures of white glue while printing directly to the glass. There are also some third-party pieces that make this a lot easier. They’re basically sheets of PEI or other things very similar that the printing can adhere to. To help improve adhesion, Rob was thinking that adding insulation to the bottom of the bed, should help keep it warmer. The bed for the CR-10 doesn’t seem to heat up super evenly, so he has also thought about using a sheet of copper to even out the heat.
He learned early on that having a nicely heated print bed made a big difference, “They say you can print PLA without a heated bed. Well, those people are my heroes because I’ve found that not only heating the bed but getting the bed at the right temperature, it helps a lot.” Over the course of the first few test prints, the top three breakthroughs Rob made were getting the bed up to about 72 degrees Celsius, getting the extruder (the piece that melts the PLA and actually draws the layers) up to a little above 200 degrees Celsius, and getting that printer bed good and level. He said it probably took two or three days of tinkering to figure out the best way to deal with adhesion and getting the stuff to stick. He found that In the end, bed leveling is, by far, the number one factor for success. Printing directly on glass gives a nice smooth finish to the bottom of parts if you’re not using a raft and a good thick spray down of Aquanet on a well-leveled glass print bed, with the hot end at a .04mm gap, works really well.
Making the first prints
It was the second or third print before he was able to print something ugly and finally get to one of the cubes from Thingiverse (Thingiverse is a “design community for discovering, making, and sharing 3D printable things”). Using designs that others have had success with is a good way to measure precision. When he printed a test cube the first time it came out about 75% correct, “which felt really good because I think we were on day two and it was here, we’re almost there. It’s printing most of this cube.” Now it’s about fine-tuning.
Starting a new project?
Drop us a line and let us know how we can bring 14 years of our unique engineering philosophy to your work.